Get started with NERD Stack
In this tutorial, we’re going to walk you through using NERD Stack to build and deploy a sample application.
In this guide:
- Prerequisites
- Setting up DocumentDB
- Create and run the sample app
- Run the sample app
- Publish to Azure App Service
- Cleanup the sample app
Prerequisites
Before we get started, you’ll need a few things:
- Node.js
- NERD Stack
- The Git client
- A Microsoft Azure subscription. You can start for free.
Setting up DocumentDB
You’ll need to create a DocumentDB account on Azure to store your data.
NOTE: This tutorial uses the Azure Portal to create your DocumentDB account. If you’re more comfortable with a command line interface, you can also create your DocumentDB account through Azure’s cross-platform command-line interface or Azure PowerShell.
-
Sign in to the Azure Portal.
-
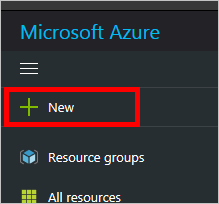
In the upper-left, click New.
-
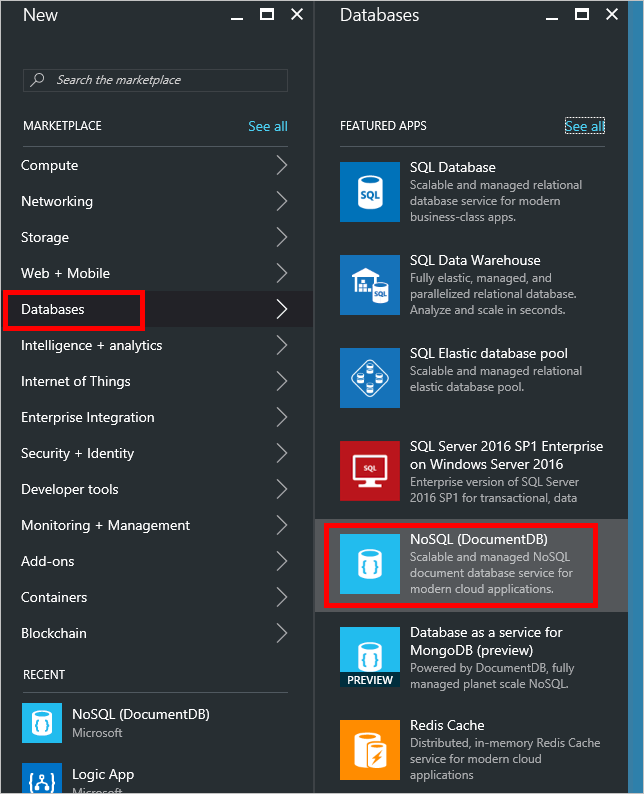
In the flyout (Azure calls these blades), click Databases, and then click NoSQL (DocumentDB).
-
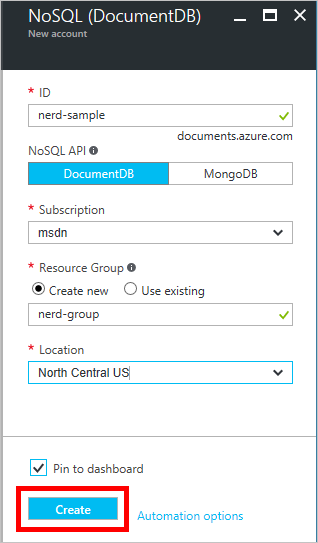
In the NoSQL (DocumentDB) blade, complete the form as follows:
- Give your DocumentDB account an ID. This will be part of the DocumentDB’s URI.
- Ensure DocumentDB is selected for NoSQL API.
- Select your Azure Subscription.
- Create a new Resource Group. Note the name you assign it, as you’ll need it later.
- Select a Location for your DocumentDB account.
- Tick the Pin to dashboard checkbox.
- Click Create.
After a few seconds, your DocumentDB account will appear on your Azure Portal dashboard. If you can’t find it, or you forgot to tick the Pin to dashboard checkbox, you can find your DocumentDB account by clicking the hamburger button in the upper-left and then clicking All resources.
-
Click your DocumentDB account. In the blade that opens, first, under essentials, note the URI. It should be in the form
https://<your account ID>.documents.azure.com:443/.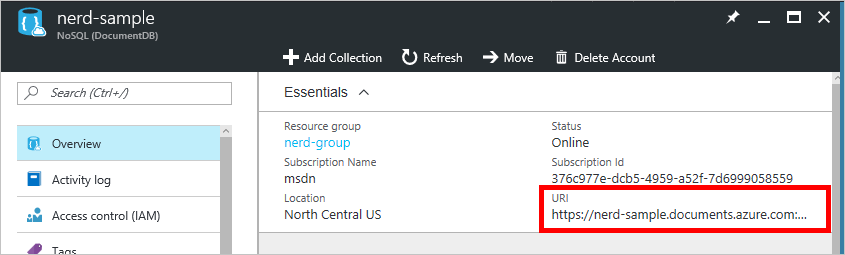
-
On that same blade, click the Keys tab. Click the Copy icon next to the Primary Key field to copy the key to your clipboard.

IMPORTANT! Safeguard these keys. Anyone with these keys can access your DocumentDB account.
Your DocumentDB account is ready to use with NERD Stack.
Create and run the sample app
Now you’re ready to create your sample app.
-
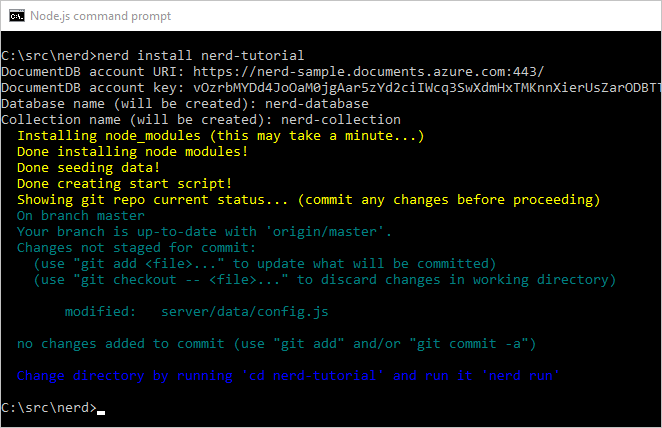
At a Node.js prompt, navigate to the directory you in which you want to create your app and enter:
nerd install <app_name> -
When prompted, enter the DocumentDB account URI you noted earlier.
-
Enter the DocumentDB account key you copied earlier.
-
Enter a Database name.
-
Enter a Collection name.
The NERD CLI will carry out several tasks automatically, including:
- Cloning the sample app (Nerdy Movies) into a new directory.
- Configuring the connection to your DocumentDB database.
- Creating and configuring the necessary npm scripts.
Run the sample app
Now we can test the sample app to make sure it runs correctly.
-
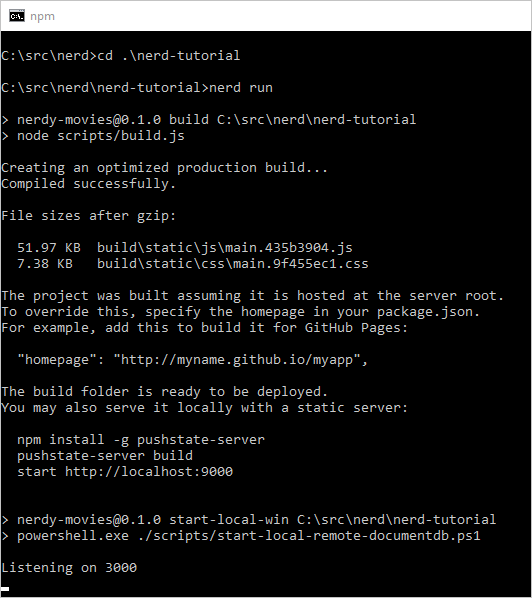
Change your current directory to the subdirectory the install created in the previous step. This will be the application name you entered at the command line in the previous section.
Windows
cd .\<app_name>Linux
cd ./<app_name> -
Build and run the web app by entering:
nerd runThis will create a production build of the web app and run the platform-appropriate start script.
-
Open a browser and test the web application by browsing to
http://localhost:3000.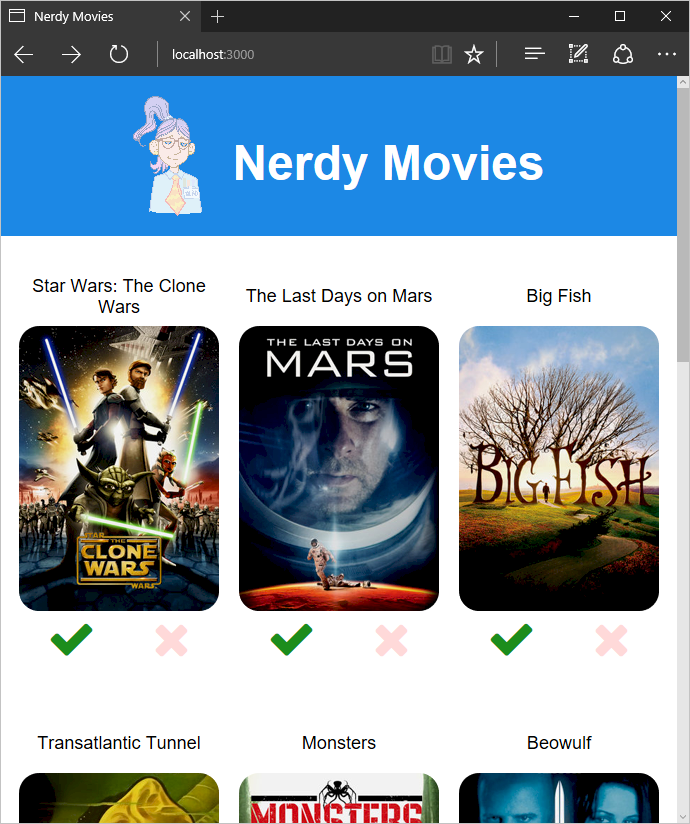
-
When you’re ready to terminate the application, press CTRL-C in your terminal.
Publish to Azure App Service
You can publish your NERD app to any server that runs Node.js. Since we’re already using Azure for DocumentDB, let’s try the Azure App Service to host our application.
First, let’s get a list of available Azure regions. We’ll need to enter one in the next step.
nerd regions
Follow the authentication procedure to retrieve the list. Note the lowercase name of the region you wish to create the app in.
TIP: Azure makes it easy to manage resouces that belong to the same application as a group. To take advantage of this, use the same location and resource group for your Azure App Service as you did for DocumentDB.
Now we’re ready to get Azure App Service set up. At the command line, enter:
nerd publish
Enter the following information when prompted:
- Skip Tenant ID unless you know you need it (necessary for certain types of Azure subscriptions)
- Enter the DocumentDB URI we used earlier.
- Enter the DocumentDB key we used earlier.
- Enter the Location (region) you chose earlier.
- Enter a Resource group name.
- Enter a unique Web app name. You can test to make sure it’s unique by trying to browse to
<web-app-name>.azurewebsites.net. - Follow the authentication procedure as prompted to log in.
- Follow the procedure displayed in the output text to set your Git deployment credentials.
Now you’ve created an Azure App Service, so you can now push your app code to Azure. Enter:
git push azure master
Your app will be uploaded, built, and ran in the cloud. The process may take a few minutes. When the process is complete, you can browse to <web-app-name>.azurewebsites.net to see your live app.
Cleanup the sample app
The sample app is a great tool to understand how a NERD app works. When you are ready to start your own custom app, execute the following:
nerd cleanup
This will remove the sample portions of the sample app, leaving you with a blank Express application with the dependencies for React and DocumentDB preconfigured.